n8n Integration
Step-by-step guide mirroring the Make page. Below each step we list screenshots you should take and place into this folder.
1) Install the node
Option A — Community Nodes (GUI): Settings → Community Nodes → Install
→ enter n8n-nodes-salestrigger.
Option B — Manual / Self-hosted installation:
If you're running n8n on your own infrastructure (e.g. VM, server, or Docker), you can install your custom node manually:
- Create a folder
~/.n8n/nodesin your n8n user directory (if it doesn’t already exist). - Navigate into it:
cd ~/.n8n/nodes. - Install your package from npm:
npm install n8n-nodes-sales-trigger. - Restart n8n. After restart the new node should appear in the UI.
Note: When running n8n in **queue mode**, the GUI install method is
disabled and manual installation into ~/.n8n/nodes is required. See
docs.
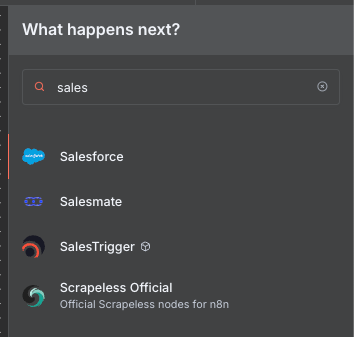
Find module
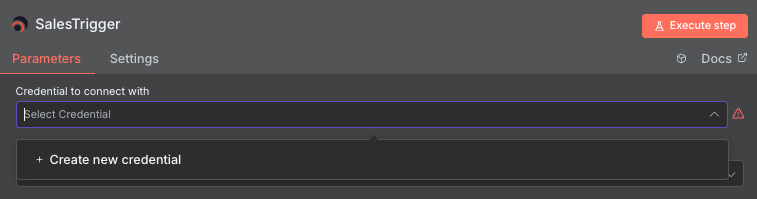
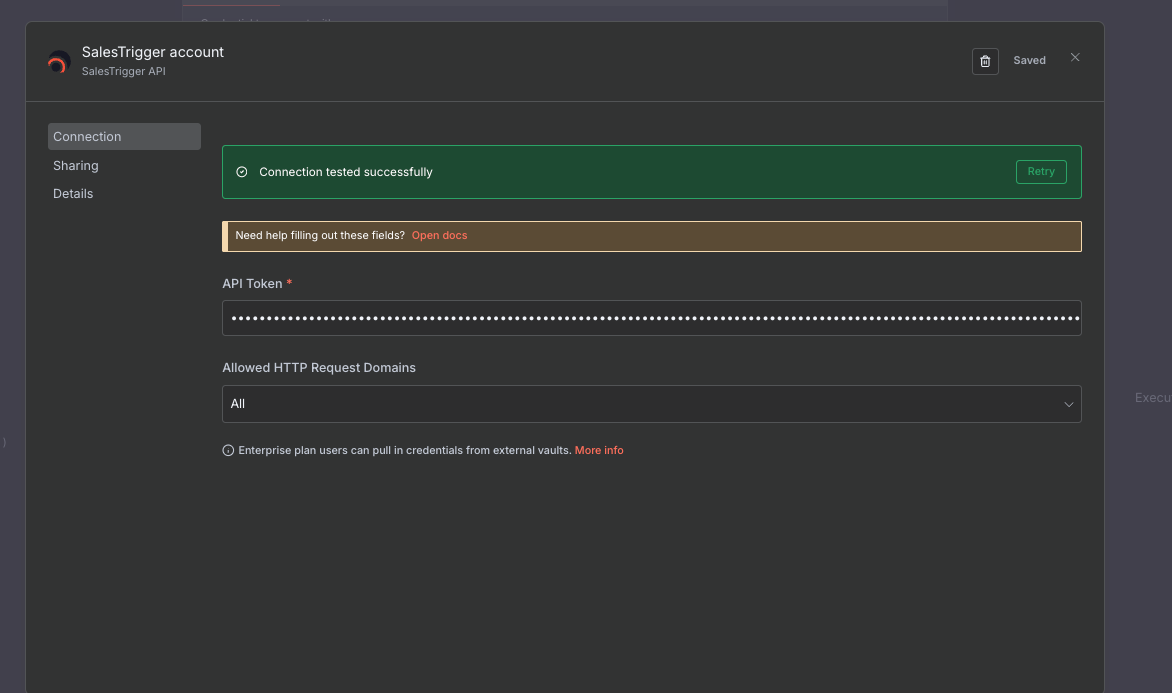
2) Create “SalesTrigger API” credentials
- Open Credentials → New → choose SalesTrigger API.
- Paste your API Token.
- Press Save and ensure status is Successful.
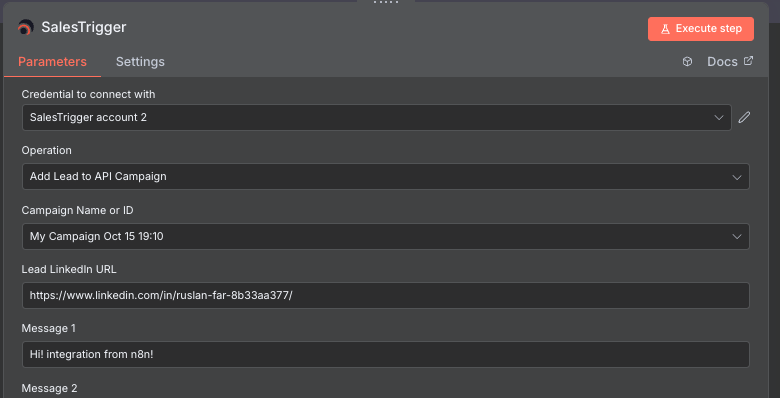
3) Build a workflow
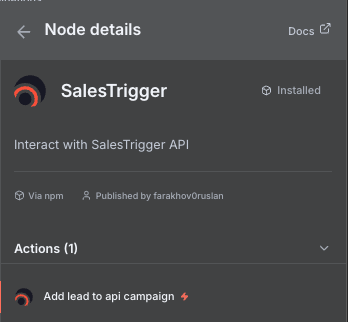
Add node SalesTrigger: Add Lead to Campaign and configure:
- Connection — pick credentials from step 2.
- Select campaign — auto-loaded list (use Refresh to reload).
- Lead LinkedIn URL —
https://www.linkedin.com/in/<PUBLIC-ID>/. - Message 1..10 — optional; mapped to
custom_field_1..10. If all message is empty, then u linkedin sent only connection
4) Run & observe
Click Execute node. On success the API returns 201 Created with
an empty body. Errors (e.g., 422 on invalid URL) are displayed in the
UI. Enable Continue On Fail to keep processing the next items.
Notes
- Install via GUI or manually. See n8n docs for Community Nodes installation.
- Logging: set
N8N_LOG_LEVEL=debugfor deeper troubleshooting. - Batching: one request per input item; use “Split in Batches” for rate limits.